Engaging Kids with Recycling Crafts
Getting your child engaged in art and craft activities is a delightful way to keep them entertained and occupied for extended periods of time. Young children are naturally attracted to all things colourful which explains why their toys, books, clothes and even preschools are so brightly coloured.
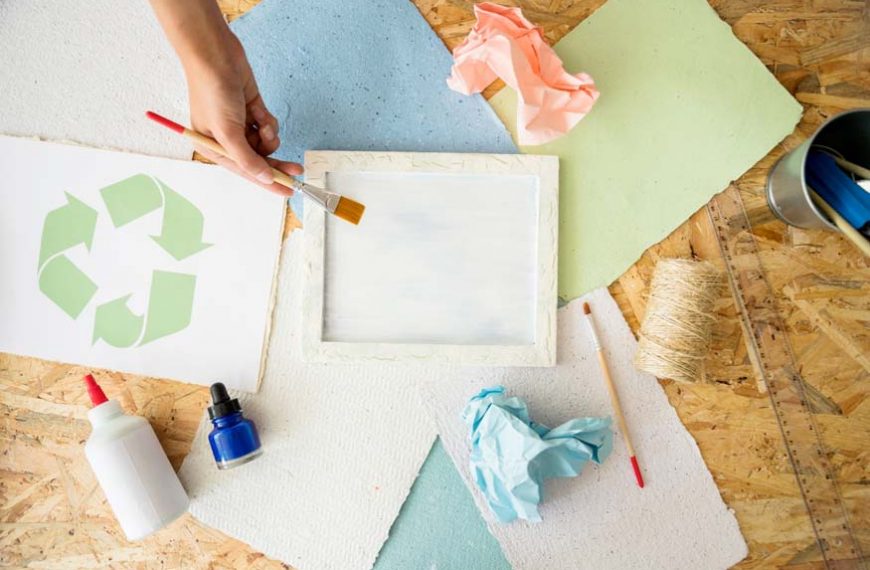
Art and craft activities have many benefits other than simply keeping the child busy. They can add on to the development of different skill areas in early childhood like motor development especially fine motor skills required when colouring or glueing things together, the bright colours stimulate the brain helping cognitive development, also visualising the art project in their mind before putting various things together, the colours and the activity itself helps in emotional development as these projects helps the child express themselves. Language and social development takes place when there is more than one person working on the project. These activities also encourage independence in your child while giving them a sense of accomplishment once the project is completed. Finally when art and craft projects are done using recycled materials, children learn about the benefits of recycling and get waste recycling ideas, become sensitive about the waste they create as well as protecting our beautiful planet.
With so much to benefit from and no expensive materials required, there is no excuse not to indulge in these activities with your kids. To begin, all you need is a large box to collect the numerous items that you can recycle. The popular picks for recycling activities for kids include plastic bottles, bottle caps, tissue paper and kitchen roll cupboards, boxes and cartons of various sizes, tin cans, ice cream sticks, glue, string, cord, old laces, buttons, googly eyes, colour pens, crayons, paints, scissors, and basically anything lying around the house that you’re thinking of throwing away.
Let’s begin with these easy recycling activities for kids to get you started off and soon you will be able to come up with your own unique waste recycling craft ideas.
- Toilet roll bird feeder-
- Bird houses-
- Art with bottle caps- This recycling activity for kids makes use of bottle caps and can easily be modified into more complex pictures for older children.
- CD spring creatures –
- Recycled robots –
- Recycled festive decoration-
- Stationary holder –
It is an easy craft idea for kids using waste material like An ice cream stick or any other sturdy stick The cardboard from a toilet paper roll. Peanut butter Different types of seeds for the birds to eat. Some string or ribbon.
For this activity make two small holes on opposite sides and tie a strong string or ribbon through it so that you can hang it. Similarly on the bottom side make holes or slits and pass an ice cream stick or a strong straw through it. This is for the birds to stand on while they feed. Then coat the entire roll in peanut butter and cover it with the different seeds, finally hang it outside for the birds. The activity is self-gratifying when you see different birds flocking to eat from it.
Variation -You can make bird feeders with coconut shells- just make holes in the shells to tie a string or ribbon on it and fill it with water or seeds, old water bottles can also be used in a similar way.
After a bird feeder the next thing that comes to mind is a bird house. For this waste recycling idea you’ll need- Milk or cream cartons, or any box that has a slight coating on the cardboard An old spoon or sturdy stick Some string to hang the birdhouse Pencil, Glue and scissors Decorative material like ice cream sticks, paints and colour pens After cleaning and drying the carton, make a large hole on one side for the birds to enter and take protection. You can even make small holes at the bottom of the carton and attach an old spoon or a stick for the bird to stand on. Clove and stick the top seam and make two small holes in it to attach the string for hanging the bird house. Once the glue has dried your child can decorate the birdhouse using ice-cream sticks to make the roof prettier, even stick some ice cream sticks on the sides to decorate or they can simply paint and colour it any way they prefer. Once done you can fill it with some bird seeds and hang it up in your garden and watch the birds come and go, maybe a bird may actually make it into its own home.
The used tin cans from baked beans, condensed milk etc. can be decorated and used as planters to liven up your garden. For these you will need- Newspaper to cover the painting area. Tin cans Acrylic paints or oil paints Hammer, nail and string, wire or Cable ties (optional) Decorative materials like cotton balls, googly eyes depending on the creatures you’d like to make. To begin with, make sure the tins are washed and well dried. Remove or secure sharp edges or rims. Spread out the newspaper and begin painting the tin cans whatever colour you like depending on the creatures you are making. You might need to paint the tin cans with a few coats of paints till you get the desired effect, make sure you dry out the previous layer before adding the next and let the tin can dry out completely before you go on to the next step. The next step is to make 2 holes about 2 inches apart using the hammer and nail and pass a long enough string/wire or cable tie if you intend to hand up the tin cans, if not then proceed directly to decorating the tin cans. You can further paint the cans with squares, or any other design, stick googly eyes in them with a nose and mouth to make garden creatures or stick dots or stripes, googly eyes and wings to make lady bugs and bees. Finally add some potting soil and some small plants and enjoy your own special garden creatures.
The materials for this activity are Bottle caps of different colours, Cardboard pieces – you can cut these up from old boxes, Googly eyes. Pieces of coloured paper to cut into strips or dots. Glue, paints, scissors Marker pens. With smaller kids, start with a simple version of this activity by sticking bottle caps in a row face down and the first one face up. Draw or stick facial features and antenna on the first bottle cap and feet below the others to make a caterpillar. You can use different coloured bottle caps to make a colourful caterpillar, use paints to colour the bottle caps to get the desired colours. Later on this caterpillar can also be used for a colour matching or colour sorting activity.
Variation- You can even stick individual bottle caps on separate cardboard pieces and make a collection of birds, animals, butterflies and other insects. For older children you can have a complete art project using bottle caps and create an underwater scene with bottle cap fish, starfish, octopus and so on or a colourful garden scene with bottle cap flowers, birds and butterflies. Get creative with bottle cap grapes or fruit trees like an apple or orange tree.
This is an activity that your little one is bound to enjoy. They will have fun using colourful printed and plain paper and decorative materials to form their creatures. Since these are made mostly out of recycled waste, it is an ideal spontaneous activity to do with your child. The materials you need are –
CD or DVD Old printed wrapping paper Coloured crepe, tissue, or kite paper Thick plain coloured paper Googly eyes Decorative materials like buttons, Craft feathers etc. Scissors Glue Pencil Coloured markers.
To begin with, apply glue on one side of the CD and stick it on the printed paper, once dry cut it out and so the same with the other side. If you don’t have any printed paper you can make some designs on the Cd using your markers, or stick plain paper and draw and colour on it once it is dry. You can then stick googly eyes, a beak make out of the thick paper and feathers for wings and a tail if you are making a bird, or you can make mouth, top fins and a tail out of the thick paper and then pleat the piece of crepe/tissue/ kite paper to make the side fins if you are making fish. Similarly you can make a frog, lady bug, elephants, tigers etc.
Variation -You can also make different flowers using the crepe/ kite paper. For this you have to cut out petal shapes and start sticking them around the Cd starting from the outside and working your way inside. For the second row place the petals in between two petals of the previous layer such that half the petal is stuck on the Cd and the other half is placed on the previous layer. The centre can be decorated using buttons or cotton balls or simply by pacing a pain coloured paper cut into a circle.
This craft idea with recycled materials makes use of cartons, boxes, old bottles, tin cans, bottle caps, flexible pipes, basically any recyclable material you can get your hands on that can be used as a part of a robot. It is a fun activity to do collectively as a family with everyone discussing and planning how to put the robot together, getting children involved will help in their cognitive, language and social development.
Collect as many bottles, cartoons and boxes you can find of different sizes, covers and caps of old containers can also be used, toy cars and wheels can be attached to make the robot movable. You’ll also need different types of glue like hot glue, instant glue, and strong adhesive to help you secure the different components. Once ready use acrylic paints if required to decorate your robot.
Make use of these recycling activities for kids to keep them busy during their holidays as you go about your festive preparations. The materials needed are –
Paints Ribbons -big ribbon to make a bow and a small ribbon for hanging Markers and colour pens Toilet paper/ kitchen roll cardboard Paper plates or old cooker gaskets Decorative materials like pom-poms, buttons, and plain crepe paper of assorted colours Pencil, scissors, glue gun and glue Old printed wrapping paper.
Use the images provided as a guide to make snowmen Christmas tree ornaments using bottle caps and ribbons, use paint to colour them white and a black marker for the face and buttons.
Cover the cardboard rolls with the used wrapping paper then use yellow and orange plain coloured paper to make the flame of the candle and then stick it on the inner side of the cardboard tube. You can use these candles to store small gifts and candy for your friends and family.
Wreaths can be made using either a paper plate or for older kids you can use an old cooker gasket. Cut out the centre from the paper plate in such a way that there is a 3 inch ring formed. Let your child paint, colour and decorate it as they like, once done stick a large bow on top and using the smaller ribbon make a loop behind to hang it. If using the gasket, then the decorations can either be stuck directly on it using a glue gun or it can be stuck on a long ribbon and then wrapped around the gasket sticking the ribbon with the glue gun at regular intervals to prevent it from slipping. Leaf shapes of the same or assorted colours can be cut, stuck on a ribbon and wrapped on the gasket or you can even stick old cloth flowers or small colourful balls to decorate the wreath. When dry add a bid bow in the front of the wreath and a small loop at the back to hang it.
You can even have each family member making their personalised wreath to hang around the house.
This activity is not only fun to do but is also practical and your child can proudly make use of it on a daily basis to keep their stationary in order. For this activity you’ll need –
Two or more toilet roll/ kitchen roll cardboards Plain thin cardboard or thick construction paper. Thick strip of cardboard or an old CD/ DVD Glue, glue gun Pencil, scissors, colours and markers Coloured paper (optional) Decorative material. Cover each cardboard roll with coloured paper if required or you can decorate each roll as desired. Then stick them together, either in a line or to form a circle, once dry you can then stick them on top of the thick strip of cardboard or on the CD/DVD. Next cut out the excess cardboard if required. Now use the thin cardboard or the construction paper and the decorative material to add the finishing touches to your stationary holder.
Once you begin doing these art and craft projects using recycled material, you will automatically find yourself collecting materials from around the house to do more projects and your kids will enjoy doing the same. Once your children get used to these types of activities they will come up with some fantastic creative ideas to do for their next project that just might surprise you and they are on their way to becoming responsible adults looking for ways to reduce waste and their carbon footprint.
EuroKids also believes in making children sensitive to the environment and the need to protect nature and reduce waste. Click here to find a centre near you and enrol your child into a preschool that teaches your child to be a responsible person.


