


If we hearken back to the earliest years of our childhood, we find ourselves in a simpler time.
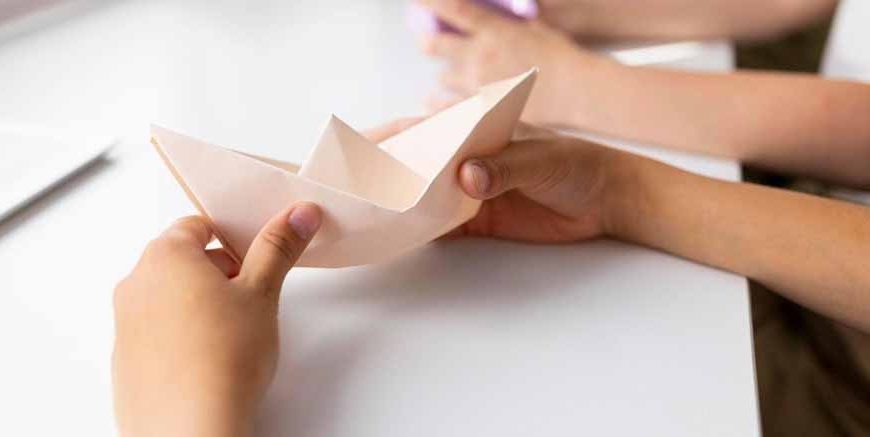
A time of paper airplanes, and Paper Boats!
How we would delight in imagining all sorts of possibilities vis a vis that Paper Boat. For instance,like it might be a ship sailing in the Atlantic! When it set sail, it was as though we would all become Sailors ourselves, navigating the oceans of the world with a sense of gusto and bravado!
Get your child to indulge in that Paper Boat Fun from your childhood years. In case you’ve forgotten to make a paper boat like you did back in the day, don’t worry. Over the course of this article you will learn the fine nuances of How to Make a Paper Boat. Our simple and concise Origami Paper Boat Instructions for Kids, will ensure that they can master this priceless Paper Boat Craft in no time at all. In case you didn’t know what the meaning of ‘Origami’ is, it’s ‘The Art of Folding Paper’, in Japanese. Needless to say, you’ve indulged in plenty of Origami too, in your childhood years.
Without further ado, then, get started in our Masterclass in How to Make a Paper Boat!
Paper Boat Masterclass: Paper Boat Instructions for Kids
If you’re looking to make that Paper Boat Step by Step, you need look no further! In this section we will show you simple Origami Paper Boat Instructions for Kids, that will get them ‘sailing’ in no time!
What you need
- Newspaper
- Sticky Tape
Instructions
- The First Fold
- Folding Yet Again
- The Triangle
- First Signs of a Boat
- Getting Closer
- The Grand Finale
Start by placing that newspaper in front of you. Make sure that the shorter side is on the top. Then, starting from the top to bottom, fold that paper into half.
Now you want to fold it further from left to right, in an attempt to find the ‘center’ of the newspaper. Once you have done this, you want to reopen it and bring down the top two corners to that ‘center point’. Now crease it at the point where they meet.
Tip: As far as the crease goes, make sure it is ‘strong’. You can do this, by running your fingers down it a few times.
Now you want to take the top flap that’s at the bottom of the paper, and turn it upward. Do the same thing on the other side, after you have turned it over.
Finally, take those ‘triangle tabs’ and fold them inwards over each other. In the end what you will be left with is a Triangle-Shaped Structure.
Now, you want to gently ‘pop’ open that center of the triangular structure like one might the top of a hat. Then, taking the ‘pointed sides’, give them a push so that they meet. Then crease it down.
Note: What you are now left with is a Square-Shaped Structure.
Ensure that the opening of the paper structure is facing you, and then fold the top layer upwards so that it meets the other point. Then you want to turn the paper over and repeat the process.
Now comes the best part. This is the Grand Finale, when all the ‘pieces come together’ and we get the grand result. Taking the top two points, gently pull them apart. At the same time, you want to gradually ‘push out’ using your fingers. This will serve to create the boat’s ‘bottom’.
Note: You want to ensure that the ‘triangle’ inside is pulled upwards, while you are pulling the sides apart. You want it sticking proudly upwards. After all, this is none other than the ship’s ‘Mast’!
It’s not over yet! Before you get sailing, you want to ensure your boat is in pristine condition. To that effect, you want to strengthen the corners of the boat you have just made with some good old tape.
Important: If you want to ensure that your boat is kept dry at all times, you want to put that tape across the bottom of the boat, too.
What are you waiting for? Get your child to get sailing with their brand new paper boat! All you need for this is a small tub that is filled with water! And remember, you created this boat on your very own, using only a newspaper and tape. Needless to say, so can your kids!
Note: In the eventuality that the boat starts to ‘droop’ a little after it has been in the water for a while, all you need to do is make some minor ‘tweaks’ to its design. That should be enough, to get it up and running again!
As you have seen above, Paper Boat Craft for Kids is not all that difficult to learn, with those easy Paper Boat Step by Step Instructions. What’s more, there’s a unique sense of joy that stems from playing with something you have created by yourself. Get your little one to create their first Paper Boat today, by following the Paper Boat Instructions for Kids outlined herein!