‘It’s not Rocket Science!’ This phrase applies not only to Easy tasks, but Rocket Science too!
Astrophysics for Kids can be made fun with some cool experiments, like the ones we have outlined for you in this article.
They might be too young to be working at NASA, but that doesn’t mean we cannot get NASA home! First, a closer look at What is Astrophysics.
Astrophysics: A Closer Look
So, What is Astrophysics? Simply put, it is a branch of Physics and Chemistry, to ascertain the nature of the heavenly bodies.
Astrophysics explores topics that range from the life and birth of Stars, to galaxies, nebulas and other objects in the Universe.
In a nutshell, Astrophysics creates physical theories of small to medium-size objects and structures in the Universe.
25 Easy Astrophysics Experiments for Kids to do at Home
Here are 25 cool experiments, for an ‘Out of the World’ experience for children.
- Salt Dough Model of Mercury
- Get them books on Astrophysics
- Moonlight Demonstration
- Venus Volcanoes
- Solar System Model
- Moon Crater Activity
- Making a Hurricane Tube This experiment will help kids visualise what a hurricane on the surface of Jupiter looks like. Namely, the Giant Red Spot! Ingredients: 2 soda bottles, some tape and a 1-inch washer
- Moon Journal
- Twinkling Star, Explained
- Balloon Solar System
- Day and Night
- Newton’s Laws of Motion
- Constellation Planetarium
- The Life Cycle of a Star
- Newton’s Third Law of Motion
- Ingredients: A balloon
- Night Sky Gazing
- Prism Rainbow
- Polar and Nonpolar Molecules
- Gravity is Curved Space
- Magician’s Pull
- Expanding Balloon
- Light Absorption
- Refracting Water
- Four Seasons
- 25. Solar Eclipse
Moulding a model of Mercury, complete with Craters? What fun! What you need: 1 cup white flour, ¼ cup salt, ¼ cup water and 1 tsp vegetable oil. To do: Mix all the ingredients in a large bowl, and roll the resultant mixture into a ball. Your child can make Craters on Mars, using a pebble or rock!
Astrophysics books for kids are a great way to transport them to another world! Here are a couple of our recommendations: Touch the Brightest Star by Christie Matheson Hello, World! Solar System by Jill McDonald
The Moon is forever a source of fascination for little children. The Experiment: Shine a flashlight on a white paper sheet in a dark room. Witness how the light reflects off the paper, and makes the room brighter.
Takeaway: We can see the light from the Sun reflecting off the moon while the Sun is invisible. In the same way, the flashlight reflects off the paper sheet and brightens the room.
Few experiments are as cool as this one! Ingredients: ¼ stick butter, 1 cup flour, a large plate, a small bowl and a saucepan. The Experiment: Start by melting butter in a saucepan. Then place the small bowl upside down on top of the plate. After that, sprinkle flour around the bowl until it resembles a volcano. Finally, pour the butter over the top of the bowl. Watch it roll down the flour, like lava down a volcano’s sides. The Takeaway: Simulation of volcanoes on other planets.
The best way to learn about planets is to see them up close! The Experiment: Place some large sheets of white paper together, and get down to creating a model of the planets on them. Note: This will help kids visualise the planets better, and the distances between them.
Yet another cool Experiment involving Craters, this time on the Moon’s surface! The Experiment: Begin by pouring some flour into a deep dish pan. Using a sifter, dust the top of the flour with cocoa powder. Now, let your children take some marbles and throw them at this ‘Surface of the Moon’!
The Experiment: Fill a bottle 2/3 full with water. Placing the second bottle on top of the first, tape them together. Flip the bottles upside down, swirl, and witness that storm!
Keeping a journal of the moon will help kids understand it better! The Experiment: Children can maintain a journal, in which they observe and record the shape of the moon. They must do this every night, for more than a month.
This one will help your kids proclaim, ‘Twinkle, Twinkle Little Star, now I know ‘How’ you Are!’ Ingredients: Aluminium Foil, Pen, Flashlight, Bowl of Water The Experiment: Poking a few holes in the foil, shine a light through it and observe it. Then place the foil behind the bowl of water, and wiggle the bowl to get the water in it moving. Now, shine the light and observe it travel through the foil and water.
The Takeaway: The water acts like our ‘Atmosphere.’ As the light passes through it, it twinkles, much like the stars in the sky.
Planets in the form of balloons are more Alive than those etched on paper! Ingredients: 10 balloons in different colours The Experiment: Fill the balloons in varying sizes, according to the planets they represent, and place them alongside each other. Tip: You could start first with the Sun, before making your way through the planets.
Seeing how day and night work is fascinating for kids. Ingredients: A Globe, a Post-it Tab and a desk lamp The Experiment: Let your child mark where they live on the Globe, with the Post-it Tab. Placing the globe on a desk, have them shine their light on their ‘Home.’ Then let them slowly rotate the globe, and see what happens.
The Takeaway: Finally, the place where they live will rotate back into the light, after the completion of a full Day/Night cycle.
A fun experiment to understand Newton’s infamous First Law! Ingredients: Coins of varying sizes The Experiment: Try pushing differently-sized coins across the table, with the same force. See which coins move faster.
The Takeaway: Kids will see that when they use the same amount of force, the smaller coins will move faster, as they are lighter. Also, the coins will travel in a straight line unless they hit something. This confirms Newton’s First Law of Motion!
A Constellation in your bedroom? What a great idea! Ingredients: A cardboard box, flashlight, scissors, marker and ice pick The Experiment: Begin by cutting a hole in one side of the cardboard box, that is just large enough for the flashlight to fit into. Using the marker, make dots in the shape of a constellation, on the other side of the box. Let your child poke holes in the box, where the dots are. Finally, turn off the lights and place the flashlight in the hole. See your child marvel at the constellation on the wall or ceiling!
Replicating the life cycle of a star can be loads of fun. Ingredients: Black paper, two cotton balls, markers, small white sequin, small yellow pompom, large red pompom. The Experiment: Stretch the cotton balls flat. Colour one with brown and grey markers, so it looks like a nebula. Glue this at the top left of the black sheet. Then glue the yellow pompom that represents the average star, and the red one for the Red Giant. Use purple, orange and blue markers to colour the other ball. This is the planetary nebula. Glue it at the top left of the sheet. Finally, glue the white sequin for the White Dwarf.
This experiment is sure to get little ones squealing with delight!
The Experiment: Blowing up a balloon, hold it closed with your fingers. Before letting the balloon go, let your child hypothesise with the following questions:
What will the balloon do when released? Which direction will it go in, and why?
The Takeaway: This will help children see Newton’s Third Law in Motion, Namely, that ‘Every Action has an equal and opposite reaction.’ The balloon travels in the opposite direction of the air escaping.
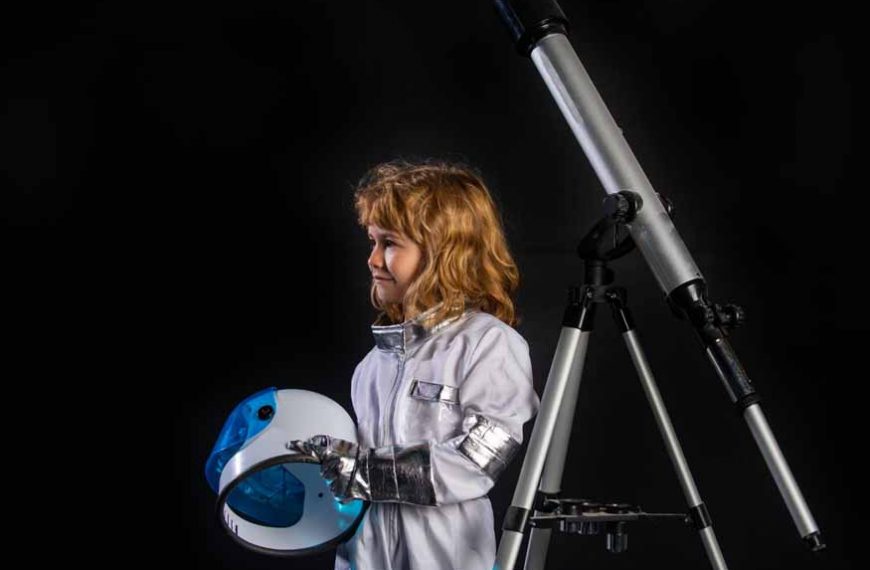
Turn this favourite kids’ pastime into a cool experiment! The Experiment: All experiments involve keen observations. Do some research, about the stars you should be able to see in the night sky. When looking for patterns, start with binoculars before moving on to telescopes!
There’s no Science experiment cooler for Kids, than getting them to create their own Homemade Rainbow!Ingredients: Sunlight, a Prism The Experiment: Have your child take that Prism and hold it up to the Sun. Then let them look on the ground, to see the Rainbow!
The Takeaway: When light moves through the prism it slows down and reveals the colours of the rainbow. Raindrops do the same with Sunlight!
Kids will love the Extreme reaction this experiment brings! The Ingredients: Clear jar, water, 2 tbsp oil, 10 drops liquid food colouring The Experiment: Start by filling the jar 2/3full with water. In a different dish, drop 10 drops of food colouring into 2 tbsp oil. Then pour the oil mixture into the water. Watch your child marvel at the underwater explosion of colour, as the food colouring separates from the oil.
The Takeaway: Teach your kids that oil is Nonpolar, so its atoms are not attracted to the water. Unlike the Polar ‘Water’, whose hydrogen and oxygen atoms do not share electrons evenly.
This fun experiment helps children understand a new facet of Gravity! Ingredients: A large bowl, an extra-large T-shirt, a ball, marbles of different sizes and a large rubber band. The Experiment: Place the T-shirt over the bowl and stretch it taut. Place the rubber band over the top, to keep it in place. Place the ball on top of the fabric, and see it roll towards the centre of the cup. Throw in the marbles. Now, holding the edges of the bowl, gently move it in a circle. See the objects roll around the surface of the fabric, creating orbits.
The Takeaway: The heavier objects, including the ball, will end in the centre. The lighter marbles will gravitate to the outer edges. This shows that larger objects have greater gravitational pull than smaller objects.
Yet another cool experiment, to demonstrate Newton’s First Law of Motion. Ingredients: 3 bottles, water, a tablecloth The Experiment: Fill one bottle completely with water, the second half full, and leave the third completely empty. Line the bottles on a table covered with the tablecloth. Grabbing the tablecloth, pull it out quickly, horizontally to the table. Do any bottles fall over? If so, which ones and how far?
The Takeaway: This experiment shows that the greater the weight an object has, the greater the Inertia it possesses.
Another experiment that involves the use of a balloon. Ingredients: Hot water, bowl, a bottle and balloon The Experiment: Putting a balloon over the mouth of an empty water bottle, place it in a bowl. Then pour hot water into the bowl, and see the balloon inflate.
The Takeaway: This one shows children how heat rises, and causes Kinetic Energy in molecules.
A fun experiment with light, this one shows how Light is absorbed differently by different Colours. Ingredients: Infrared Thermometer, Sunlight, Black, Red and Blue paper The Experiment: Place the 4 different-coloured sheets of paper in the Sun. After 10 minutes, check the individual temperatures of the papers.
The Takeaway: Children will be delighted to see that the black paper is the hottest. This is because it absorbs all colours, and hence the most heat from the Sun.
An experiment that feels like Magic, this one! Ingredients: Water, a glass, a Pencil The Experiment: Fill the glass with water and place a Pencil in it. Watch the fascination on your child’s face, as they stare at that ‘Broken Pencil.’
The Takeaway: Water refracts light, because it has a different density that air. This is why, Light travels differently in Water than through Air.
Children will enjoy learning how Seasons come into effect. Ingredients: A lamp (Sun), an Orange (Earth) and a stick. The Experiment: Skewering the orange onto the stick, draw a line around it to represent the Equator. In a dark room, hold the orange to the light so that half of it is illuminated. Tilt the stick at roughly the same angle as the Earth’s rotational axis – 23.5 degrees. There will be more light shining on the Northern Hemisphere.
The Takeaway: The exact opposite situation happens, when the Earth is on the other side of the lamp. This demonstrates to kids how the four seasons come into play.
Eclipses are truly wonderful, but how do they happen? Ingredients: A lamp, a small ball (Moon) and large ball (Earth). The Experiment: Switch on the lamp in a dark room, place the ‘Earth’ a few metres away so half of it is in the light. Holding the ‘Moon’ around 20 cm above the illuminated side of the Earth, see the shadow it casts on the Earth’s surface. The Takeaway: This one shows how solar eclipses are formed.
At EuroKids we believe that all children must be encouraged to learn the basics of Astrophysics, right from an early age. It will bestow them with the wonderful experience of thinking Abstractly about important concepts like Time and Distance.


